Punch needle is one of those crafts where you make something real in a single afternoon. You pick a design, stretch your fabric in a hoop, push loops of yarn through it with a hollow needle, and by the time you flip it over, you’ve got a textured, almost sculptural piece of artwork. It’s satisfying in a way that feels immediate – not the months-long commitment of a quilt or the fiddly counting of cross-stitch.
The craft has been gaining momentum fast. The hashtag #punchneedle had nearly a billion TikTok views as of 2024-2025, according to Stitchcraft Marketing’s 2025 craft trend analysis. That’s not a niche hobby anymore. It’s moved well past the craft fair circuit and into mainstream DIY culture.
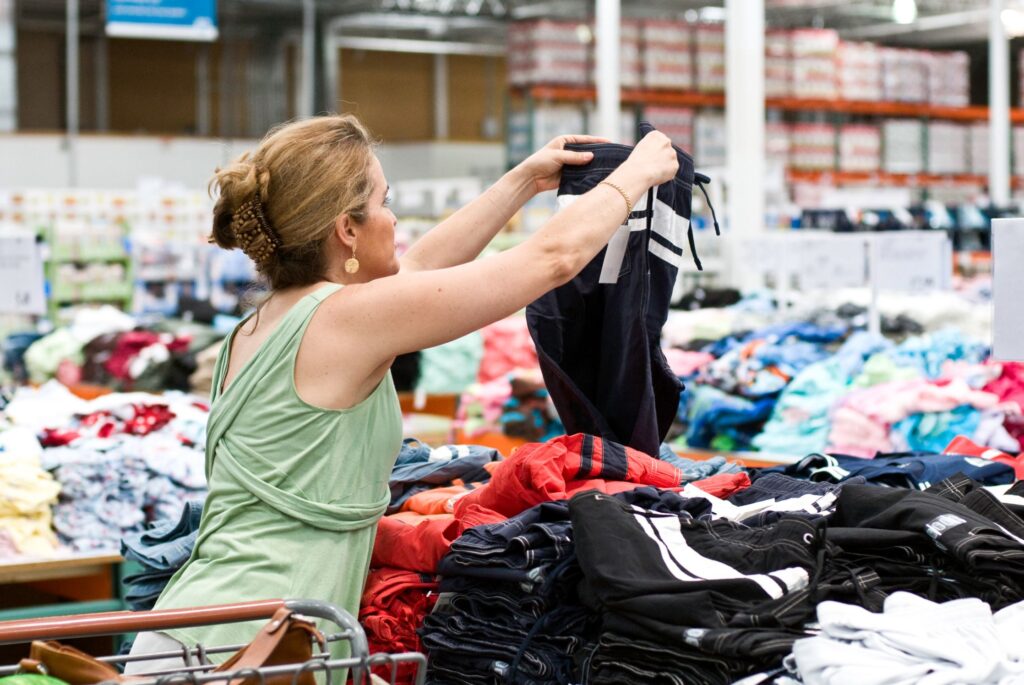
What makes it especially interesting for readers of this site: the four things you need to start punch needle are exactly the kinds of things that turn up in the bins. Yarn skeins, embroidery hoops, fabric scraps – goodwill bins shoppers are practically pre-equipped. This guide covers what the craft actually is, what you’ll need, where to find it cheaply, and what to make first.
What Punch Needle Actually Is (and Why It’s Everywhere Right Now)
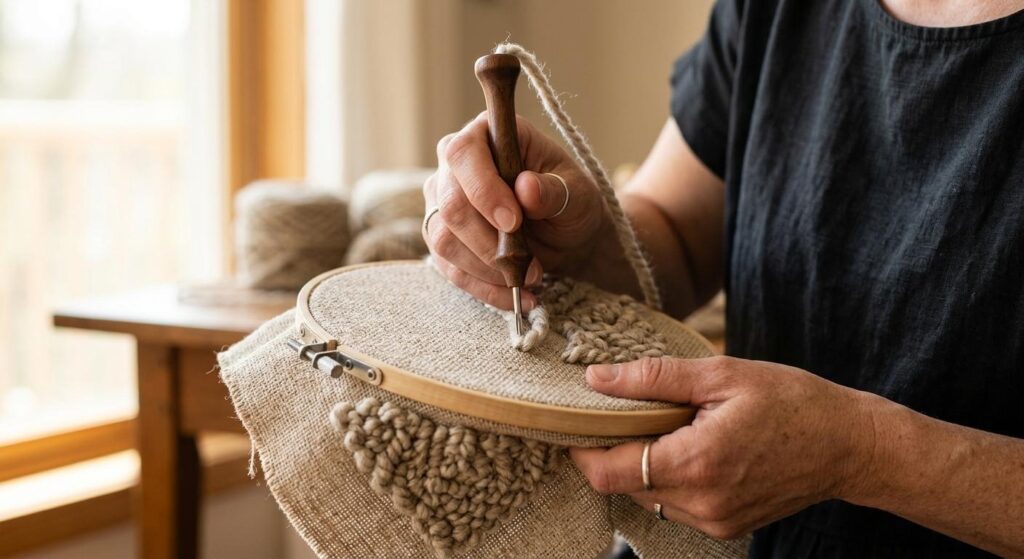
The mechanics are simple. A hollow-tipped needle carries yarn through an open-weave fabric, most often monk’s cloth, leaving a loop on the underside with each punch. You work from the back, punching your design in, and when you flip it over the front shows a dense field of loops that looks almost like a small rug or a very textured painting. Think of it as coloring in a design with yarn, except you’re working from the back of the canvas.
This is what separates punch needle from traditional embroidery. There’s no counting stitches, no threading needles with fine floss, no reading complex patterns row by row. The technique is repetitive and rhythmic. Most people find that part calming rather than frustrating. Mistakes are also easy to undo – you just pull the loops out and re-punch the section.
The TikTok and YouTube presence explains part of the current popularity, but the craft also appeals to people who are tired of screens and want something physical and low-stakes to do with their hands. It bridges a few different craft communities too – people who already do rug hooking or cross-stitch find punch needle familiar almost immediately.
If you want to skip the guesswork of buying components separately before you’ve done it once, punch needle kits for beginners bundle the needle, fabric, and yarn in matched sizes so nothing is accidentally incompatible. That’s a real problem on a first try – a chunky yarn won’t feed through a fine embroidery needle, and if your fabric weave is too tight the needle won’t pass through cleanly.
What You Need to Get Started
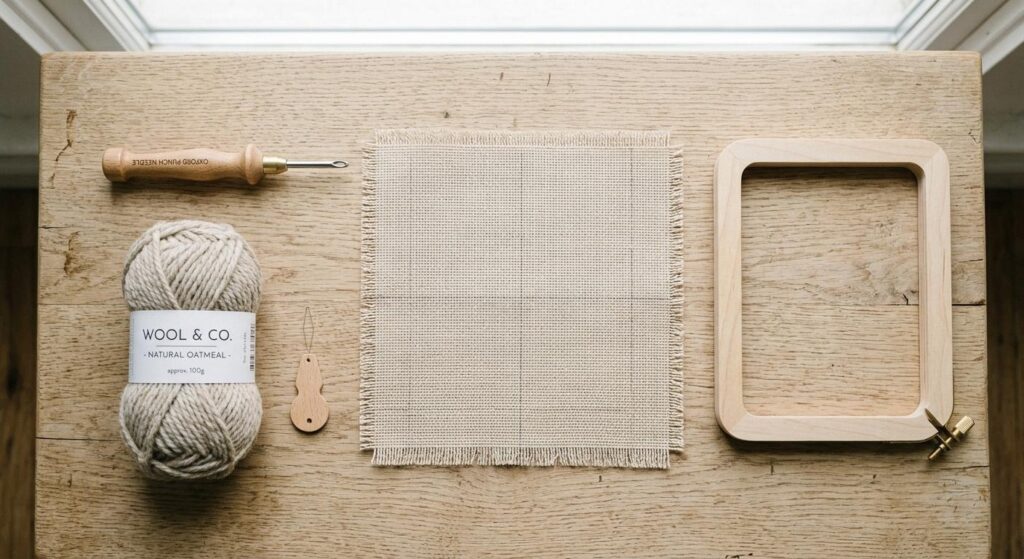
Four things. A punch needle tool, yarn, the right fabric, and something to keep it taut. That’s the entire supply list for a first project.
The needle is where most beginners make their first mistake. Punch needle tools come in different sizes – the size corresponds to the weight of yarn they’re designed for. A chunky needle for thick wool is the most forgiving starting point. Fine needles used with embroidery floss are trickier because the loops are smaller, the fabric is finer, and the margin for error is narrower. Start big.
Yarn choice matters more than most guides admit. One hundred percent wool holds loops better than any other fiber because of its natural texture – it grips the fabric and stays put. Acrylic works, but the loops can slip out more easily before you’ve finished the piece and secured the back. Avoid anything silky or very smooth at first. No label on the yarn? Don’t trust it.
For fabric, monk’s cloth is the standard for a reason. It has an open, evenly spaced weave that lets the needle pass through without resistance. Regular burlap is rough on the needle and rough on your hands. Canvas and muslin are too dense. If you’re wondering what turns up in the bins when it comes to fabric and craft supplies, the range is genuinely wider than most people expect – you can absolutely find usable monk’s cloth or similar open-weave fabric there.
The frame situation is worth taking seriously. A regular embroidery hoop loses tension as you work and the fabric loosens. Loose fabric is the main reason loops fall out before they’re secured. A lap frame or a no-slip frame holds tension much better. That said, an embroidery hoop is fine for a first try as long as you re-tighten it every few minutes.
A basic starter set runs $30-60 at retail, depending on quality.
Where to Source Your Materials (Including a Tip for Bin Shoppers)
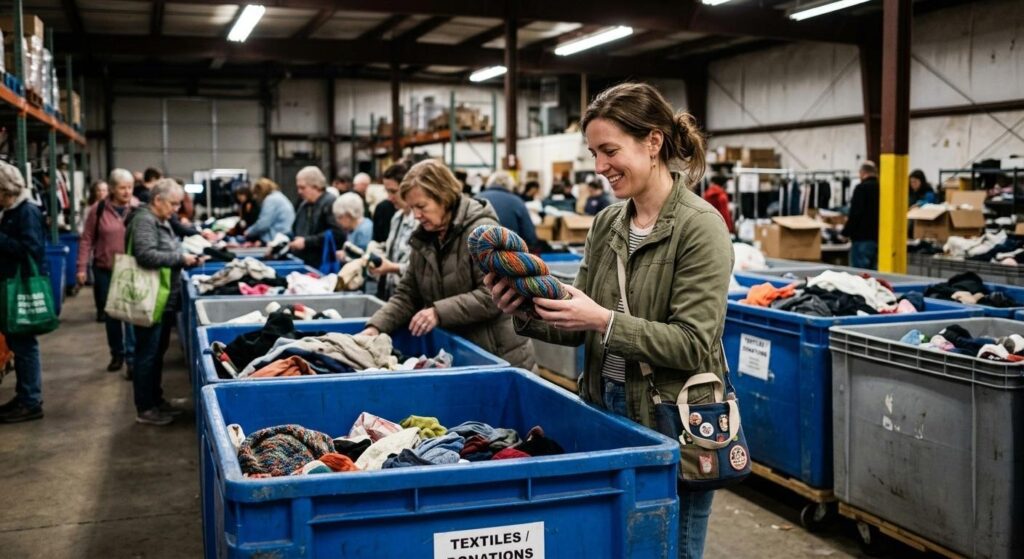
The bins are good for three of the four supplies you need. Yarn skeins show up constantly – often in large quantity because someone destashed an entire craft room. Embroidery hoops appear regularly and are almost always in good shape. Fabric, including yardage that works for punch needle, goes for a fraction of what you’d pay at a fabric store. The fourth thing – the punch needle tool itself – is the one item worth buying new. Secondhand tools rarely come with size information, and if you end up with the wrong size for your yarn, the whole project fights you. Don’t buy the tool used.
When pulling yarn from the bins, check the label if there is one. You’re looking for 100% wool or a wool blend with at least 50% wool content. If there’s no label at all, do a quick burn test on a small strand – wool smells like burning hair and doesn’t melt; acrylic smells chemical and forms a bead. It’s not foolproof, but it’s useful.
That’s part of what makes the bins such a good match for punch needle. You can walk out with enough yarn and fabric for multiple projects for just a few dollars, which makes experimenting with the craft feel much lower-risk.
Your First Project: What to Make and How to Think About It
Start small. A 6×6 inch design on a single hoop finishes in two to three hours, which is exactly the right commitment for a first try. You want to finish. A finished project – even a simple one – tells you far more about the craft than an abandoned one.
Design-wise, think in blocks of color rather than fine lines. Simple geometric shapes, bold florals, or a single word in block letters make far better first projects than portraits or anything with detailed shading. The technique rewards boldness. Small, fussy details are genuinely harder.
One thing beginners consistently get wrong: they forget which side they’re working from. You punch from the back. The loops form on the front. It’s disorienting at first but clicks quickly once you see it happen. The other common mistake is lifting the needle too high between punches – the tip should stay close to the fabric surface, almost dragging along it. Lifting high pulls the previous loop out.
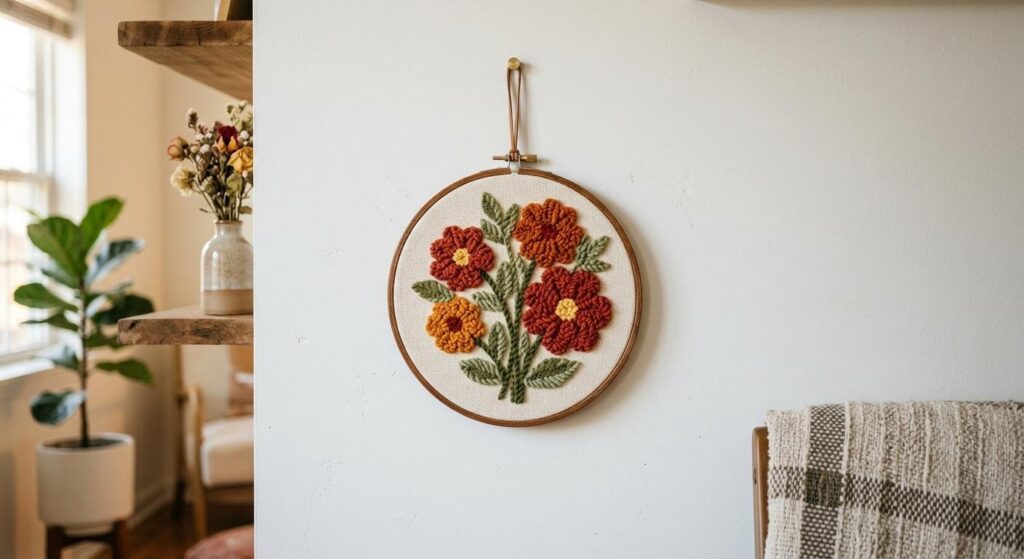
When you’re done, the piece looks great mounted in its hoop as wall art. This is actually one of the craft’s selling points – the finished object is already framed and display-ready without any extra work. If you’ve been collecting ideas for displaying handmade pieces alongside thrifted art, a punch needle piece fits that mix of found and made objects well.
The gift angle is worth noting too. According to the AFCI Craft and Hobby Study as cited by AnthonyThomas.com, 53% of needle crafters give their work as gifts and 42% consider themselves beginners. A small punch needle piece costs almost nothing to make from thrifted supplies, takes an afternoon, and looks genuinely handmade in a way people notice.
Is Punch Needle Hard to Learn?
No. It has one of the lowest learning curves of any fiber art. The motion is consistent and repetitive – you’re not managing multiple steps at once or tracking a complex pattern. Most people get the basic technique in the first ten minutes and spend the rest of a session just filling in the design.
Mistakes correct easily. Pull the loops out, re-punch. There’s no unraveling a whole row the way you might with knitting, and no cutting and re-knotting like you’d do with cross-stitch. The forgiving nature of the craft is a real advantage for beginners who don’t want to invest hours before knowing if they’ll enjoy it.
The broader needlecraft market reflects how many people are picking up these skills. Future Market Insights reported in April 2025 that the global needlecraft patterns market was valued at $34 billion in 2025 and is projected to reach $63.9 billion by 2035 – a CAGR of 6.5%. That’s not a category growing because of a single viral trend. It reflects a sustained shift toward tactile, hands-on hobbies that doesn’t appear to be slowing down.
The one genuine difficulty is tension consistency. Keeping the fabric taut throughout a project takes practice, and a frame that holds the fabric properly makes this much easier. It’s not a hard skill to develop – it just takes a few sessions to become automatic. If you’re hunting the bins for materials, knowing your fabric types and fiber content helps you quickly spot what will work for punch needle versus what won’t.
Stitchcraft Marketing’s 2025 craft trend report tracks how punch needle fits into the broader return to fiber arts among adults who came back to making things during and after the pandemic years. The numbers behind that shift are in the market data above – sustained growth, not a blip.
Getting Started This Weekend
Punch needle is cheap to start, fast to learn, and produces finished pieces you’ll actually want to keep. The barrier is genuinely low – four supplies, an afternoon, and a small design. The bins give you a head start on three of those supplies for almost nothing.
On your next run, keep an eye out for yarn labeled wool or wool blend, wooden hoops in good shape, and any fabric with a visible open weave. Buy the needle new, sized for chunky yarn, and you’re ready.
Pick one simple design such as a geometric shape, a bold initial, or a single flower and start this weekend. The first project won’t be perfect. It doesn’t need to be. The point is finishing it and knowing you’ll do a better one next time.